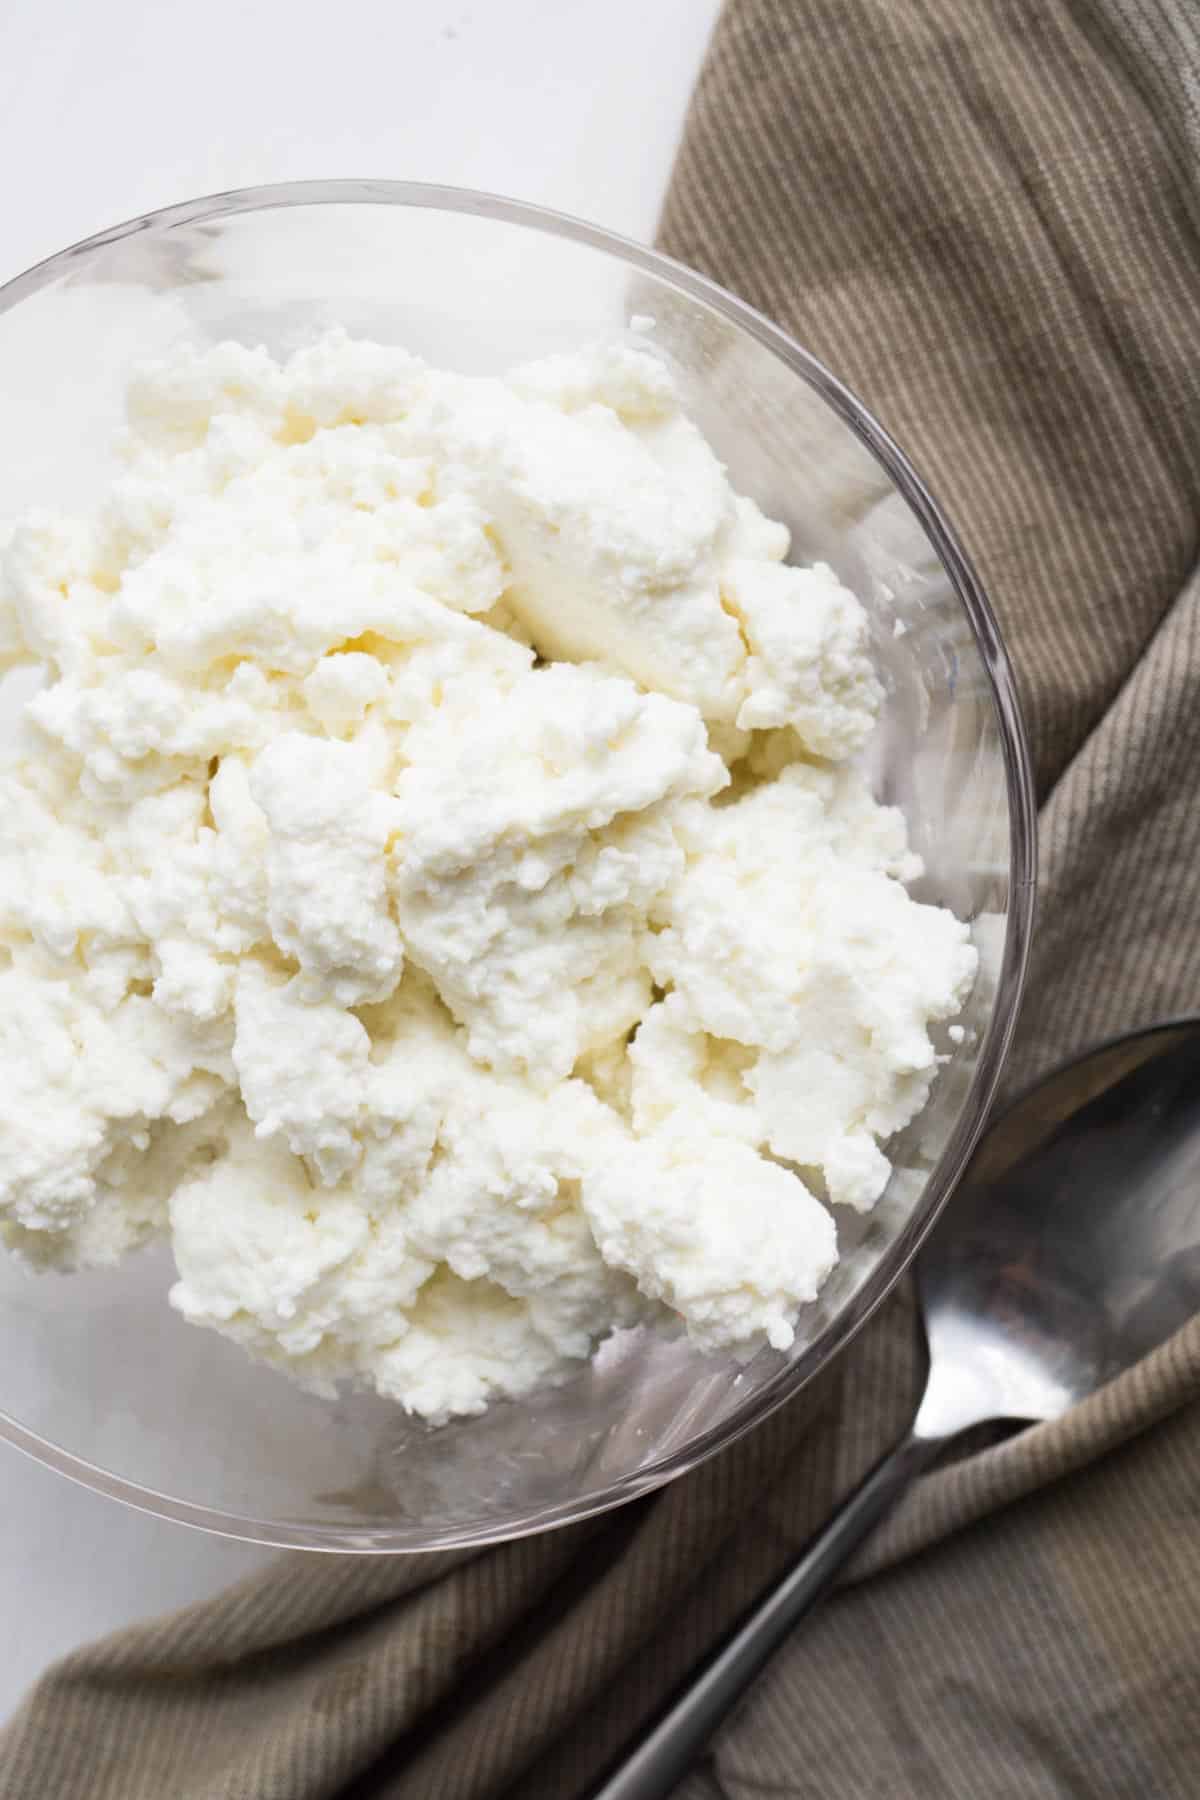
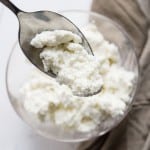
Ricotta is so stinking easy to make. Once you make it, you’ll never go back to storebought! It literally only requires three very easy steps. This recipe will yield 375g of ricotta, give or take. (It depends on how much whey you strain out.)
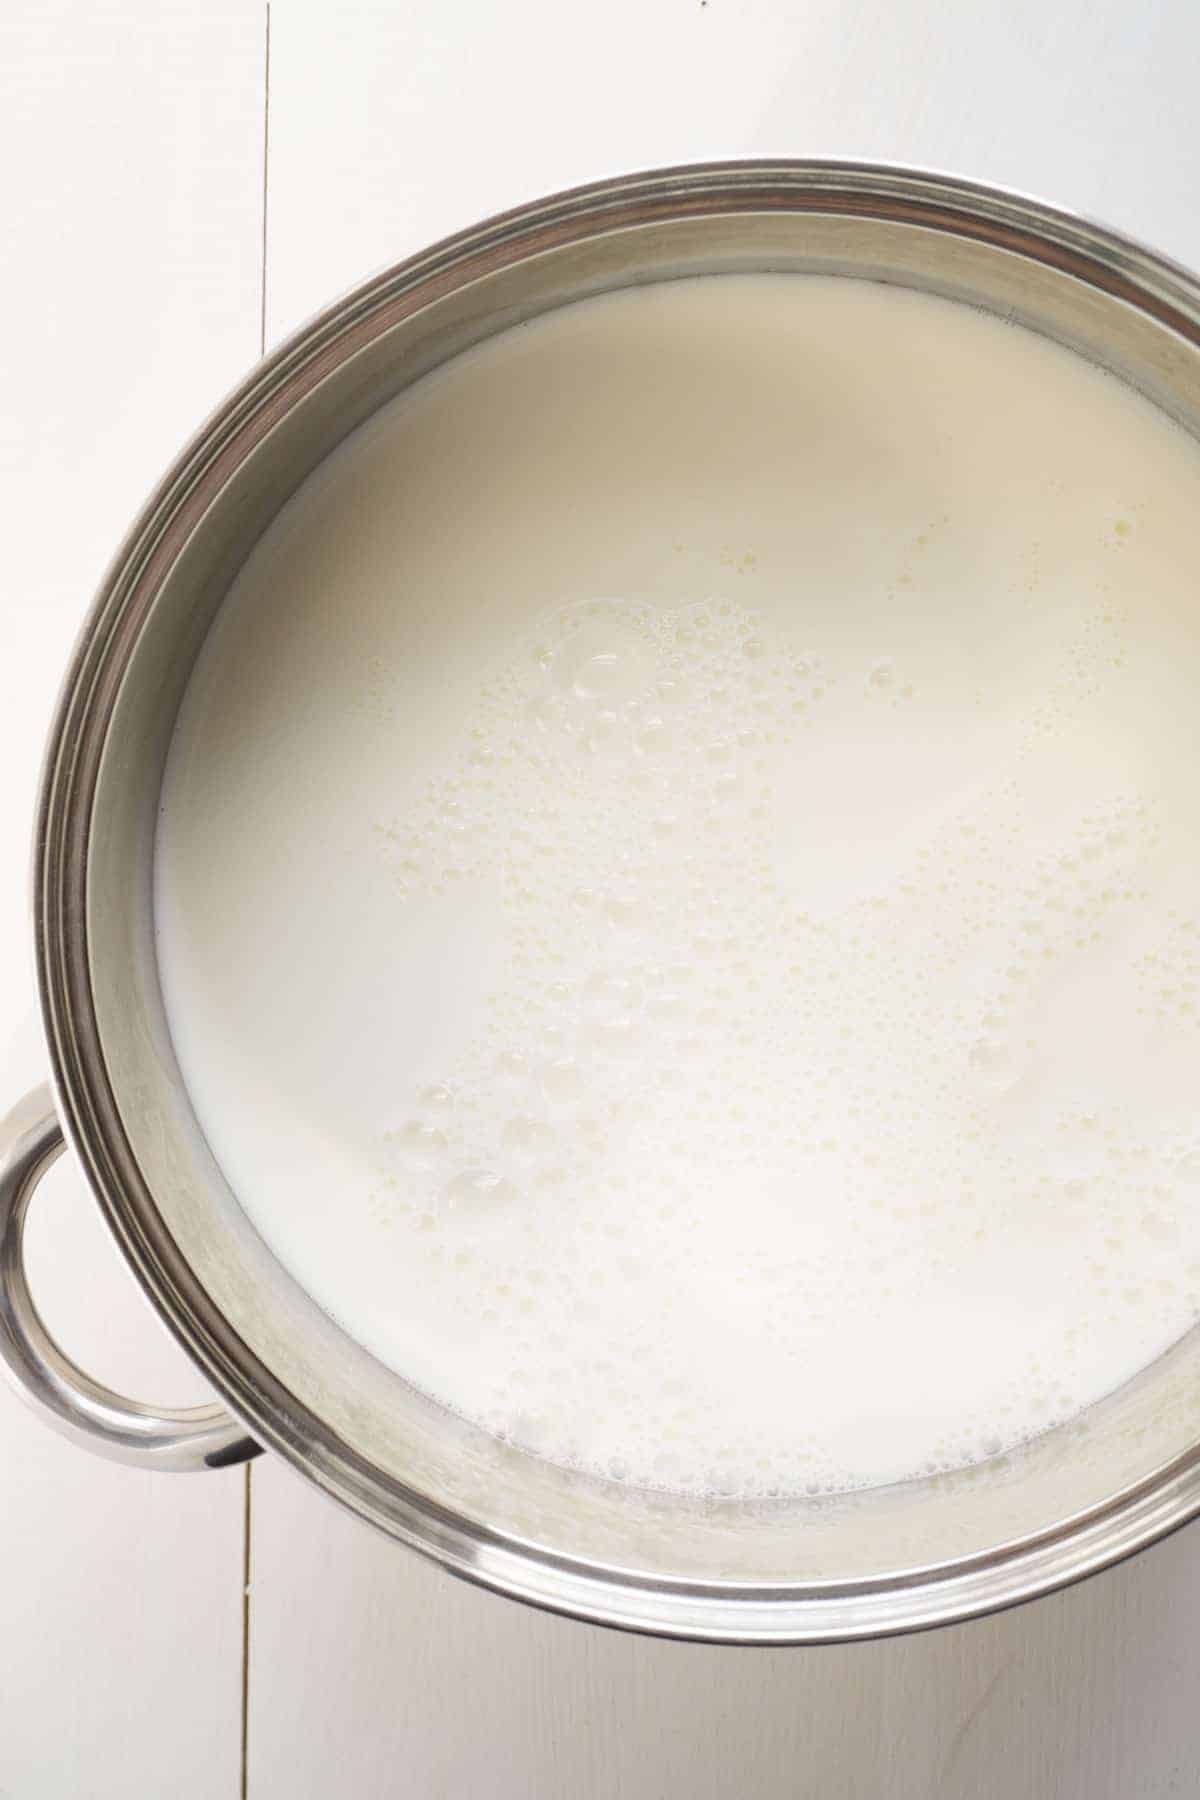
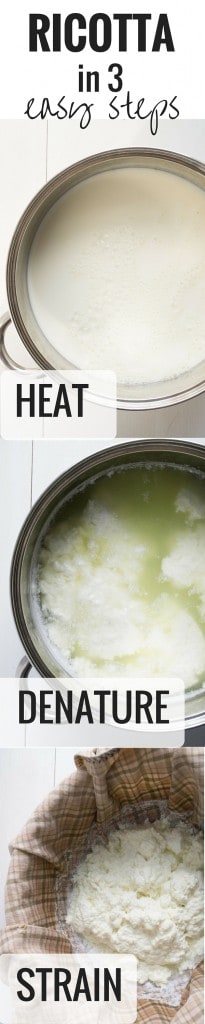
Step One: Heat
- Pour the milk into a large pot.
- Heat over medium until a thermometer reads 200 degrees Fahrenheit.
- Turn heat off.
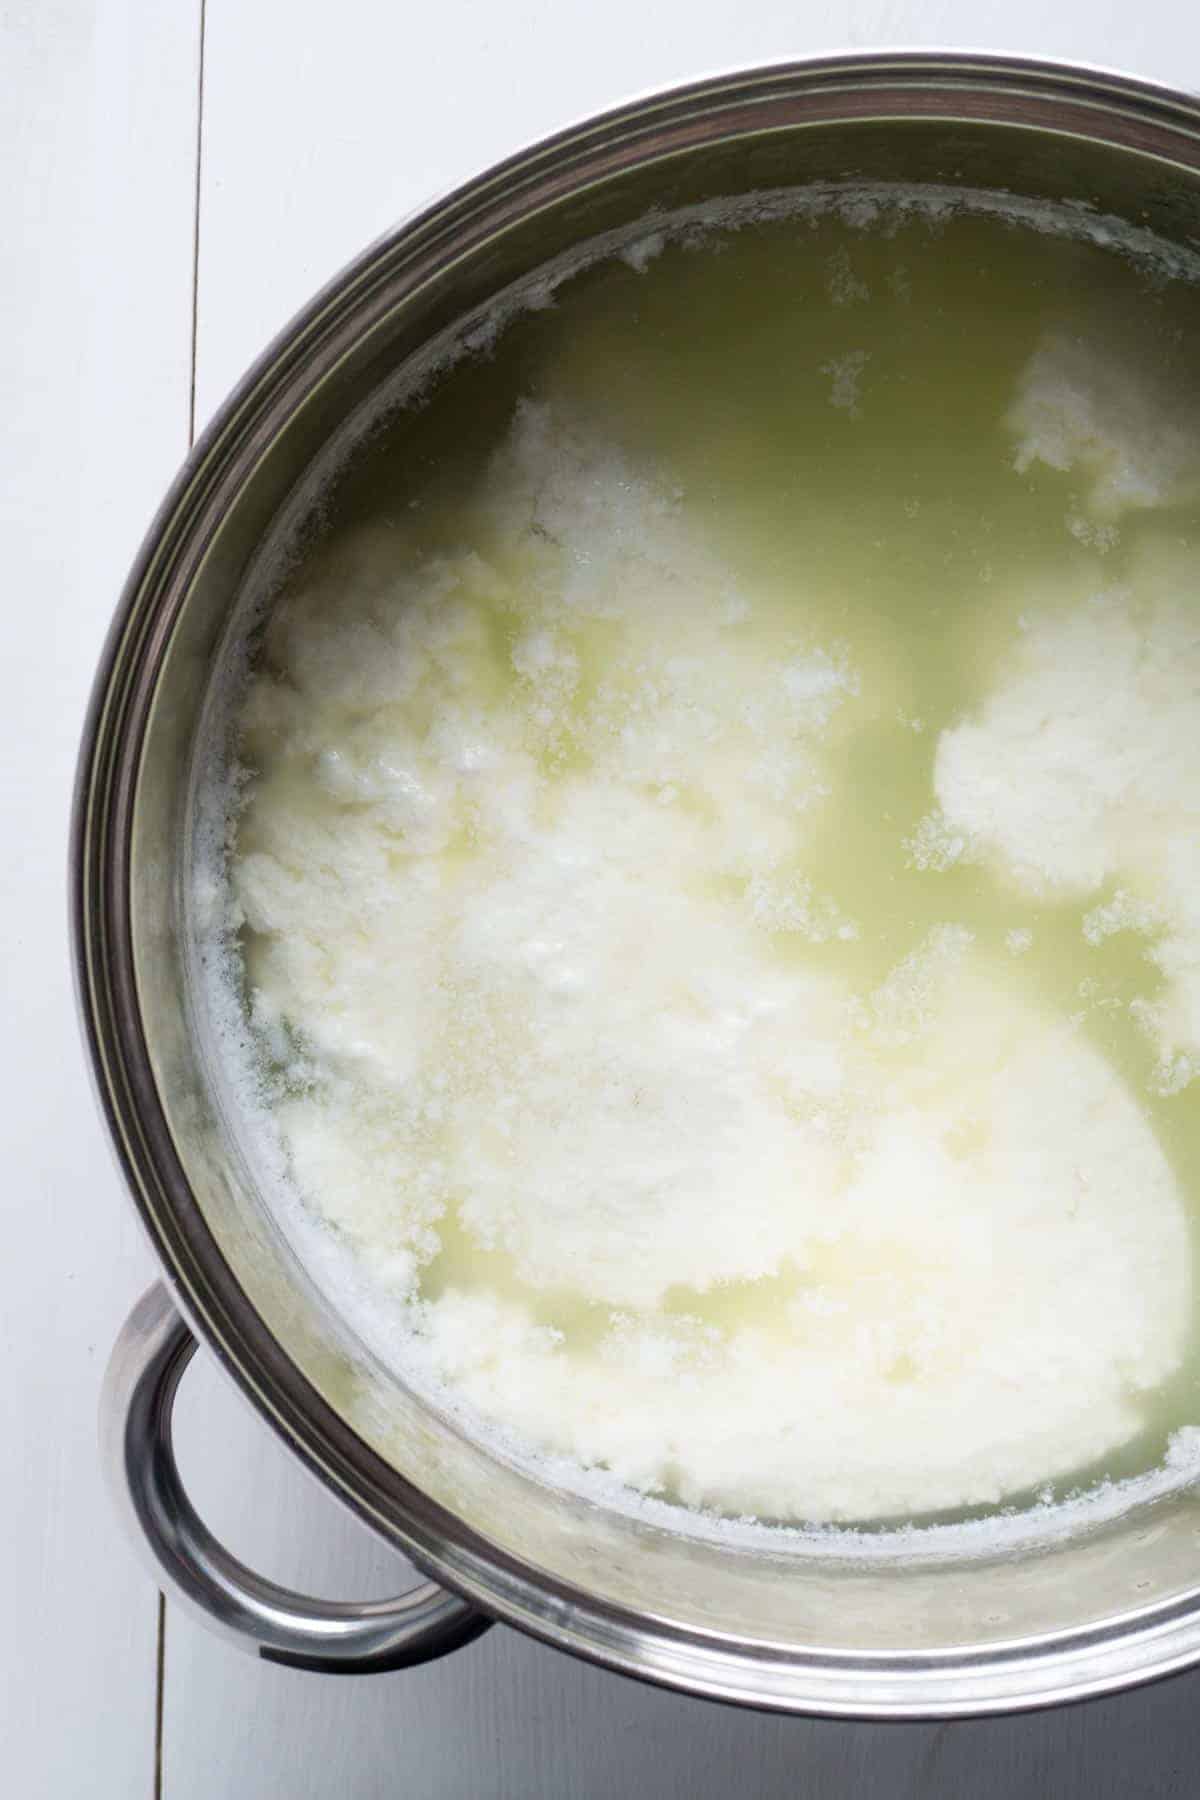
Step Two: Denature
- Add the lemon juice and salt (if desired).
- Set a timer for 10 minutes.
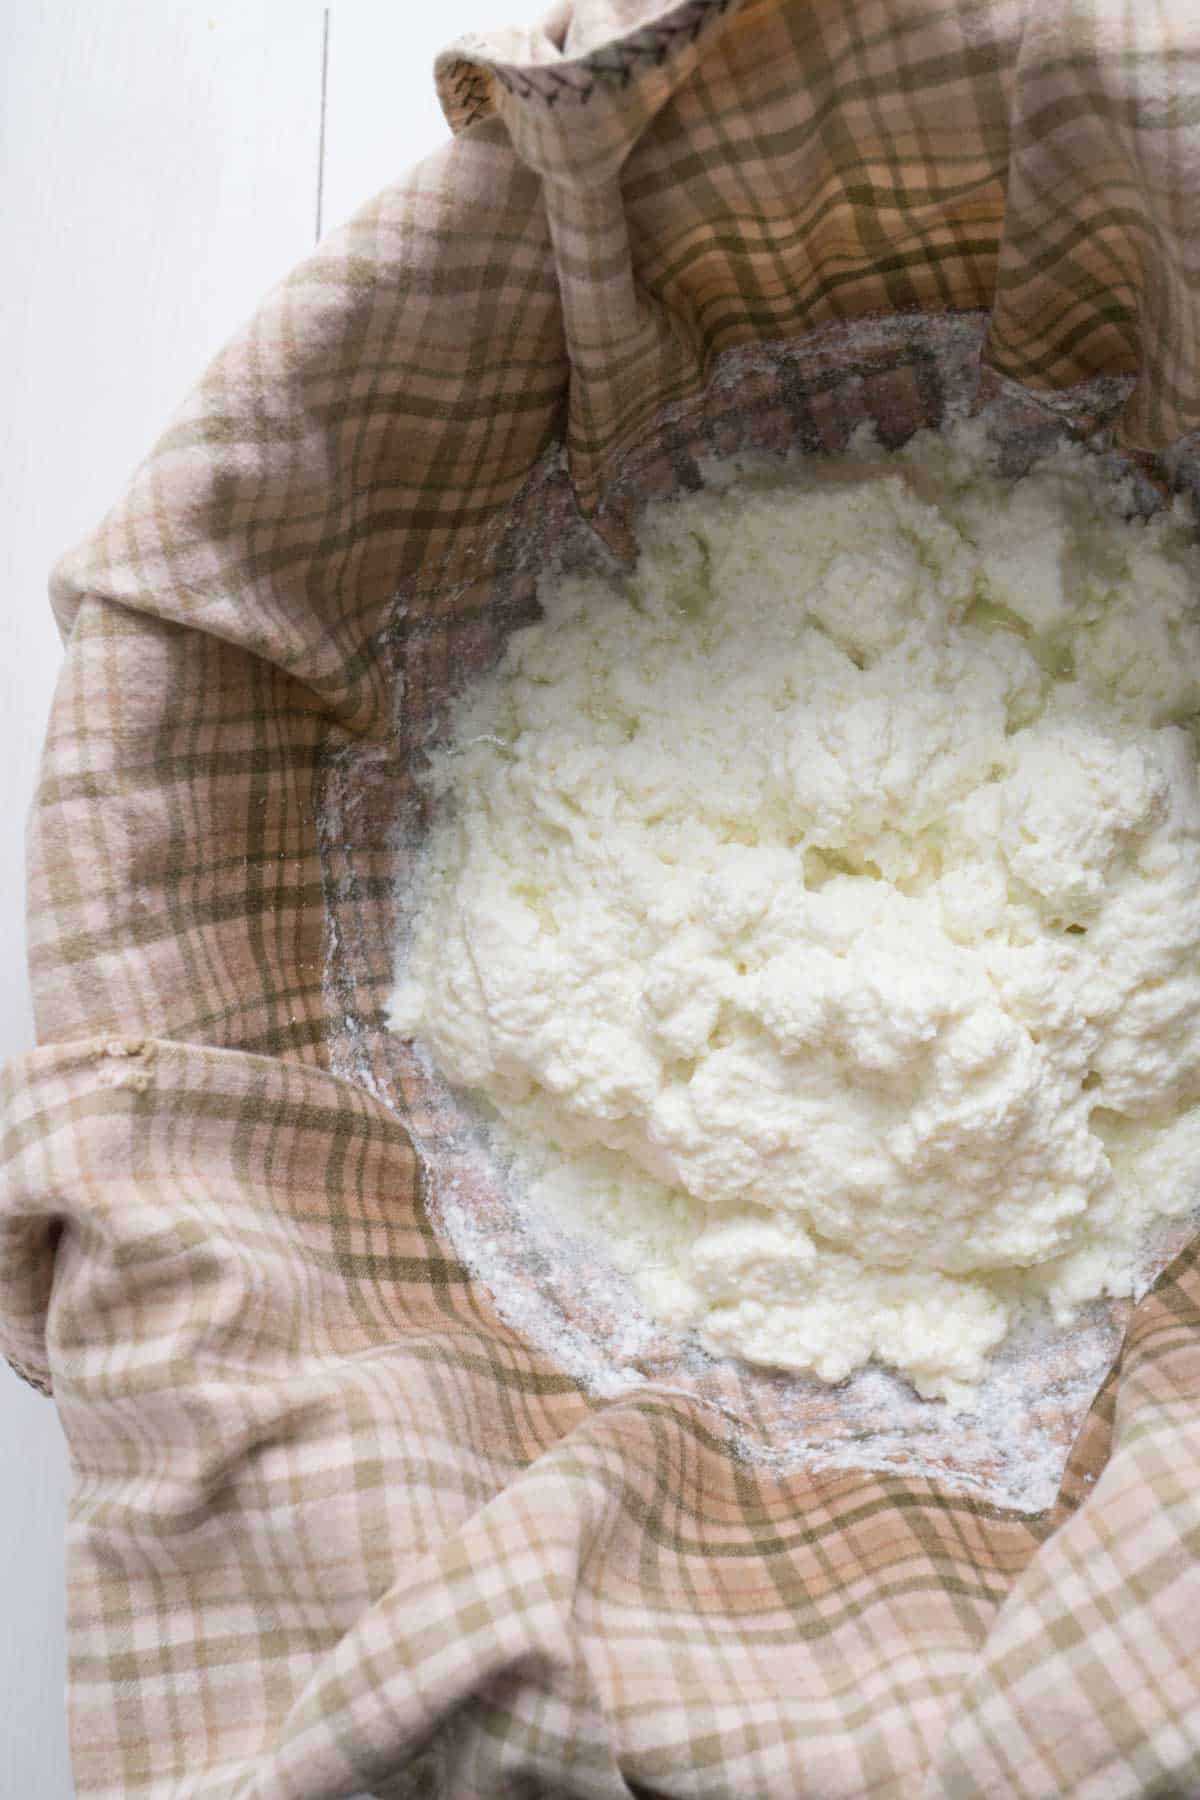
Step Three: Strain
- Line a colander with a cheesecloth, nut bag, or clean tea towel. Place over a large bowl. To make room for all the whey you can place a small bowl upside down in the large bowl to elevate the colander.
- Allow the ricotta to strain for 30 minutes.
- You can keep the whey liquid to drink, or add to smoothies or soup.
- Keep the ricotta in the fridge. Will keep for up to a week.
So what can you make with ricotta? In addition to the usual stuffed cannelloni, this DIY Boursin recipe is pretty awesome (if I do say so myself!).
Why It’s A Smart Choice
If you’re on a low-salt diet, you know how difficult it is to find cheese that won’t blow your daily sodium budget! With this recipe, you can completely control how much salt goes in! The salt doesn’t play a role in the actual cheese making so you can leave it out entirely, if you wanted.
The best and easiest way to strain the ricotta is to use a nut milk bag. You could use cheesecloth but a nut milk bag is reusable and therefore a) cheaper in the long run and b) better for the environment! Amazon has a wide selection available but I don’t think you can go wrong with this one![]() . It’s rated 4.9 stars from over 2100 reviewers. The price is also fantastic.
. It’s rated 4.9 stars from over 2100 reviewers. The price is also fantastic.

![]()
A tea towel also works well, but you will lose out on some of the whey that gets absorbed into it.
Ricotta in 3 Easy Steps
Ingredients
- 2 litres 8 cups or ½ gallon 2% or whole milk
- ⅓ cup lemon juice fresh or bottled
- 0-1 tsp salt
Instructions
Step One, Heat
- Pour the milk into a large pot.
- Heat over medium until a thermometer reads 200 degrees Fahrenheit.
- Turn heat off.
Step Two, Denature
- Add the lemon juice and salt (if desired).
- Set a timer for 10 minutes.
Step Three, Strain
- Line a colander with a cheesecloth, nut bag, or clean tea towel. Place over a large bowl. To make room for all the whey you can place a small bowl upside down in the large bowl to elevate the colander.
- Allow the ricotta to strain for 30 minutes.
- You can keep the whey liquid to drink, or add to smoothies or soup.
- Keep the ricotta in the fridge. Will keep for up to a week.
Notes
- Yields approximately 375g.
If you give this recipe a go, let me know! Leave a comment, rate it, or snap a photo and tag it with #smartnutritionrecipes on Instagram! I’d love to see your creations! Knowing someone has enjoyed one of my recipes always makes my day brighter.
Who knew making your own ricotta was so easy?! I use this to make your homemade boursin, which we love.
Glad you love it! Thanks for the comment.
I finally got around to making your ricotta cheese (which was delicious in an eggplant roll) and I used the leftover whey in place of water a loaf of your sourdough seed bread. It tasted the same as normal but I felt good about using the whey for something!
Good idea! In the past I’ve kept the whey in the fridge, thinking I would use it for something but then always forgetting to…. that makes the bread higher in protein and even more nutritious!
Yum! So easy to make. Can’t wait for the lasagna E is going to make tonight 🙂
Awesome! How was the lasagne?
Im making it now so far looks good
Wonderful!
I had no idea how easy this was. And here I was buying ricotta cheese but could never use it all before it went bad. Then I would feel like a waste of money. Can you use any kind of milk?
The recipe needs a bit of fat so feel free to use 1%, 2% or full fat dairy milk.
ha! I’ve been making paneer like this for years and never thought to use the cheese as ricotta! And now I’m thinking Lasagne is on the menu next week.
For anyone interested, paneer is Indian cheese made the same way and pressed To smush the loose curds into a cake, so you can slice it and fry it for curries (like tofu)… It freezes well too!
Oh neat! I had no idea paneer was made with the same method. Thanks for the tip!